How to Prepare Your Artwork for Screen Printing
Getting your artwork right before sending it to the printer saves time, money, and headaches. At French Press Custom, we review hundreds of artwork files every week, and the difference between a print-ready file and one that needs rework can mean days of delay and additional charges.
Here is everything you need to know to prepare artwork that is ready to hit the press.
What Type of File Is Needed for Screen Printing?
The single most important thing to understand about screen printing artwork is this: vector files produce the best results.
What Is Vector Art?
Vector graphics are created using mathematical paths rather than pixels. They can be scaled to any size without losing quality. Programs like Adobe Illustrator, CorelDRAW, and Affinity Designer create vector files.
Why Vectors Matter for Screen Printing
Screen printing requires clean, sharp edges for each color. Vector art provides:
- Infinite scalability: your logo looks perfect at any size
- Clean color separation: each color is on its own layer
- Sharp edges: no fuzzy pixels or jagged lines
- Small file sizes: easy to email and process
Preferred File Formats (Best to Worst)
- AI (Adobe Illustrator), the gold standard
- EPS (Encapsulated PostScript), universal vector format
- SVG (Scalable Vector Graphics), web-friendly vector
- PDF (with vector data), great if exported from Illustrator
- PSD (Photoshop, 300+ DPI), acceptable for complex designs
- PNG (300+ DPI, transparent background), last resort for raster
What Resolution and DPI Do You Need for Screen Printing?
If you must use a raster (pixel-based) image:
- Minimum 300 DPI at the actual print size
- For a 12-inch wide chest print, your file should be at least 3600 x 4200 pixels
- Never upscale a low-resolution image: it does not add detail, just blurry pixels
- Screenshots, social media downloads, and web graphics are almost never print-ready
Quick Resolution Check
Take your image width in pixels and divide by 300. That gives you the maximum print width in inches at acceptable quality.
Example: A 1500px wide image = 5 inches maximum print width.
How Do You Prepare a Hand-Drawn Design for Screen Printing?
Hand-drawn artwork prints beautifully on cotton tees, but it has to be turned into a production-ready file first. Start with a clean scan (a flatbed scanner at 600 DPI beats a phone photo, which adds shadows and lens distortion), in grayscale or black and white if the drawing is line art. Clean it up in Photoshop: crop, straighten, use Levels or Threshold to push the paper to pure white and the lines to pure black, and erase smudges. From there you have two routes. For a crisp, spot-color screen print, vectorize the cleaned scan (Image Trace in Illustrator or a manual redraw) so each color becomes a solid shape and the line weights hold at 1 point or thicker. For a sketchy, textured look with shading, keep it raster at 300 DPI at print size and let the shop convert the tones to halftone dots, or run it as DTG, which reproduces pencil texture directly. Either way, size the file to the real print dimensions, make the background transparent, and tell us which colors are which. If you would rather not do the cleanup yourself, our art department does it every day; send the scan and we will quote the prep.
Can You Prepare Screen Printing Artwork in Photoshop?
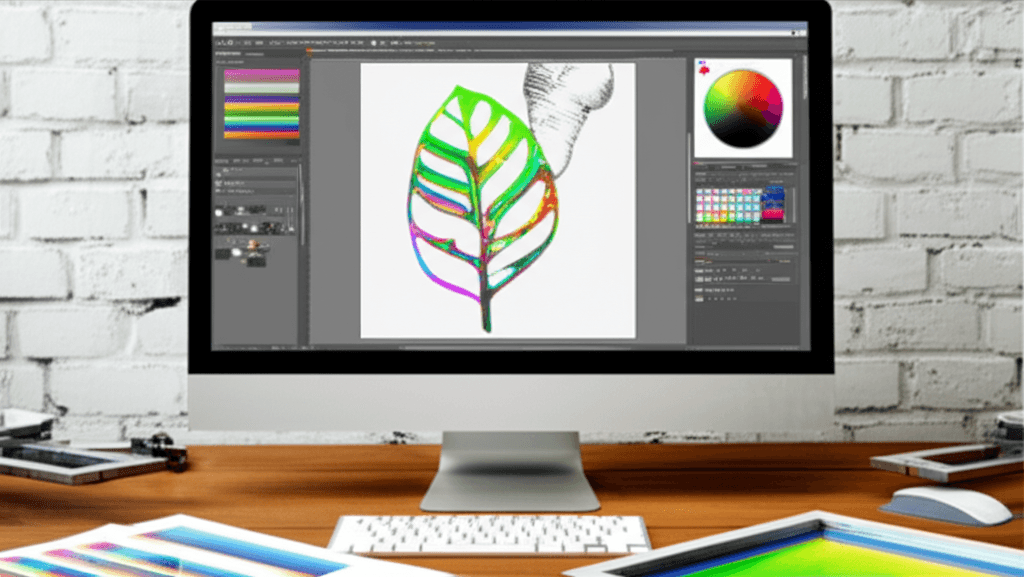
Yes, with limits. Photoshop is the right tool for photographic or textured artwork that will be printed as halftones, DTG, or DTF. Set the document to the actual print size at 300 DPI before you start, work on a transparent background, keep each ink color on its own layer, avoid soft drop shadows and glows that cannot be reproduced as solid ink, and export a layered PSD or a flattened PNG with transparency. What Photoshop cannot do is produce a true vector logo: text and clean shapes drawn in Photoshop will have pixel edges, so for spot-color logos, use Illustrator (or another vector program) or ask us to vectorize the Photoshop file. If your design is already in Photoshop and you only have a low-resolution version, do not scale it up; send it as-is and we will tell you whether it needs recreation.
Color Considerations
Spot Colors
Screen printing uses spot colors: each color is a separate ink mixed to a specific formula. This is different from CMYK printing where colors are built from four ink dots.
- Use Pantone (PMS) colors for exact brand color matching
- Keep your color count manageable, each color adds a screen and production time
- Typical orders use 1-6 colors (more is possible but costs increase)
Common Color Mistakes
- Using RGB values: RGB is for screens, not print. Provide Pantone numbers
- Too many colors: that gradient in your Canva design might need 8+ screens
- Assuming white is free: white is a color that requires its own screen
- Ignoring the garment color: a design on white looks different on black
How Do You Set Up an Artwork File for Screen Printing?
Canvas Size
- Set your artboard to the actual print dimensions
- Standard chest print: 11-12 inches wide by 14 inches tall (maximum)
- Left chest: 3.5-4 inches wide
- Back print: up to 14 inches wide by 17 inches tall
Color Mode
- Work in CMYK or Pantone color mode, not RGB
- If designing in Illustrator, use Pantone Solid Coated swatches
Fonts
- Convert all text to outlines (Illustrator: Type > Create Outlines)
- This prevents font substitution issues when we open your file
- Minimum text height for screen printing: 0.25 inches (about 18pt)
- Very thin fonts or scripts may not hold up, ask us if you are unsure
Layers and Organization
- Keep each color on a separate layer if possible
- Name your layers clearly (e.g., "Red", "Black", "White Underbase")
- Remove any hidden layers or unused elements
- Flatten any effects (drop shadows, glows) into solid shapes
What If My Art Is Not Print-Ready?
Do not worry, most submissions need some adjustments. At French Press Custom, our art department handles:
- Vectorization: converting raster logos to clean vector files
- Color separation: preparing artwork for multi-color screen printing
- Design cleanup: fixing resolution, removing backgrounds, adjusting layout
- Recreation: rebuilding a design from a low-quality source
Art Charges
Art services are quoted up front based on what your file needs. Simple cleanup and vectorization is the most common and the least expensive; full design recreation and complex multi-color separation cost more. These fees are one-time; once your art is print-ready, we keep it on file for all future orders, so outsourcing the prep to our art department is usually cheaper than paying a freelancer for a file that still needs adjustment.
Artwork Checklist Before Submitting
Before sending your files to any printer, run through this checklist:
- File is vector format (AI, EPS, SVG) or 300+ DPI raster
- All fonts are outlined or converted to shapes
- Colors are specified with Pantone numbers
- Design is sized to actual print dimensions
- Background is transparent (no white box around the design)
- No gradients or effects that cannot be reproduced in spot color
- File is under 25 MB (compress if needed)
Common Mistakes to Avoid
1. Sending a Word Document or PowerPoint
These are not print-ready formats. Export as PDF or provide the original design files.
2. Pulling a Logo from Your Website
Web images are 72 DPI, far too low for printing. Go back to the original design file.
3. Adding a White Background
Unless you specifically want a white rectangle behind your design, make sure the background is transparent.
4. Designing in Canva Without Exporting Properly
Canva is great for mockups but export as SVG or high-resolution PNG with transparent background. Do not screenshot your design.
5. Not Specifying Print Locations
Tell us where each design goes: front chest, back, left sleeve, etc. Include a mockup if possible.
Get Help With Your Artwork
At French Press Custom, we want your project to look incredible. If your artwork needs work, our team will let you know exactly what is needed and provide a quote for any art services. Send your files to sales@frenchpresscustom.com or upload them through our quote form. Learn more about our screen printing services or see how to design a logo that looks great on custom apparel.