Why Custom Embroidery Remains the Gold Standard
When it comes to projecting a professional, premium image, nothing matches the look and feel of custom embroidery. Stitched logos and designs add a tactile dimension that printed graphics simply cannot replicate. Whether you are outfitting a corporate team, launching a hat line, or creating uniforms for your restaurant staff, embroidery delivers durability, perceived value, and a polished aesthetic that lasts the life of the garment.
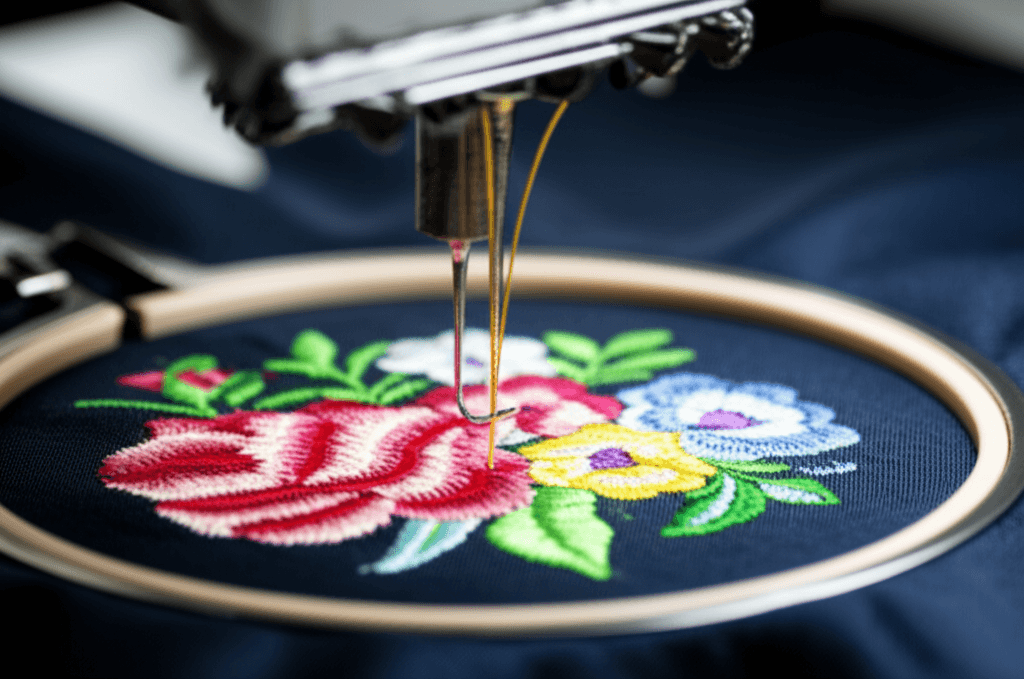
At its core, embroidery uses needle and thread to build a design directly into fabric. Modern commercial embroidery machines can run multiple heads simultaneously, producing dozens of identical pieces per hour with precision that rivals hand-stitching. Understanding the fundamentals will help you make smarter decisions about your next project.
The Three Core Stitch Types
Every embroidered design is constructed from a combination of three fundamental stitch categories. Knowing what each one does will help you communicate with your embroiderer and evaluate proofs.
Satin Stitch
Satin stitches are long, parallel threads that lay side by side to create a smooth, shiny surface. They are the go-to choice for lettering, thin lines, borders, and small design elements. Satin stitches reflect light, giving text and outlines a polished, slightly raised appearance.
- Best for: text, outlines, narrow shapes, monograms
- Typical width: up to about 10 mm (wider satin stitches can snag)
- Look and feel: smooth, glossy, refined
Fill Stitch
Fill stitches cover larger areas by running rows of shorter stitches in a pattern, usually at a slight angle. This is how you fill in a logo background, a large letter, or a graphic shape. The angle and density of the fill can be adjusted to create different textures and visual effects.
- Best for: large areas, backgrounds, bold shapes
- Density: typically 4 to 6 stitches per millimeter
- Look and feel: textured, solid, substantial
Running Stitch
Running stitches are single lines of thread that follow a path. They are used for fine detail, underlay (the foundation stitches beneath satin and fill), and delicate outlines where satin would be too heavy.
- Best for: fine detail, thin outlines, underlay paths
- Appearance: thin, subtle, lightweight
- Common use: connecting elements within a design, adding small accent lines
Choosing the Right Fabric for Embroidery
Not every fabric takes embroidery equally well. The weave, weight, and stretch of your blank all affect how the finished product looks.
Best Fabrics for Embroidery
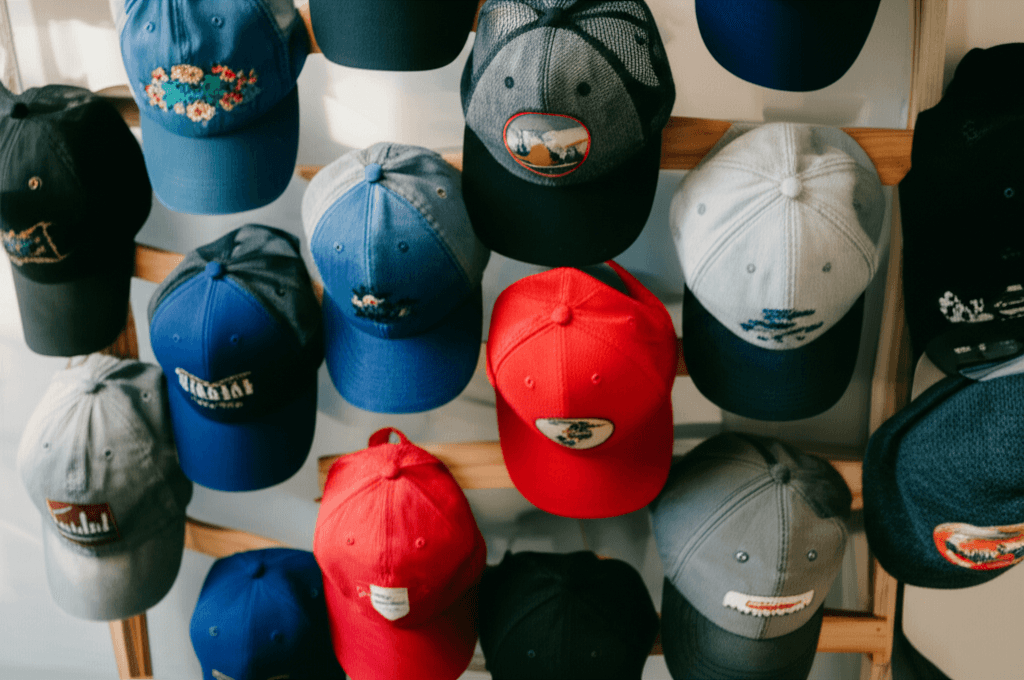
- Twill and canvas (hats, jackets), Firm weave holds stitches beautifully with minimal distortion. This is why baseball caps look so crisp with embroidery.
- Pique polo knits: The structured knit used in polo shirts handles embroidery well, especially with proper stabilizer backing.
- Heavyweight cotton tees (6+ oz): Thicker cotton provides a stable base. Brands like Comfort Colors heavyweight and Gildan Ultra Cotton work great.
- Fleece and outerwear: Hoodies, quarter-zips, and softshell jackets are embroidery staples for corporate and team wear.
Fabrics That Need Extra Care
- Lightweight performance fabrics: Thin polyester athletic wear can pucker. Your embroiderer should use appropriate stabilizer and reduce stitch density.
- Stretchy knits and spandex blends: The fabric moves under the needle, so designs need to be sized and digitized with stretch compensation in mind.
- Leather and faux leather: Embroidery is possible but requires special needles, and every needle puncture is permanent, so there is zero room for error.
- Nylon: Slippery and thin, nylon (like windbreakers) needs topping material to keep stitches from sinking into the weave.
Design Guidelines for Great Embroidery
Embroidery is not the same as screen printing or digital printing. Designs must be adapted to work within the constraints of needle and thread.
Keep It Simple
Embroidery excels at bold, clean designs. Extremely fine details, photographic imagery, and complex gradients do not translate well to thread. A logo with clean lines and solid color areas will always look better embroidered than one with watercolor effects or tiny text.
Mind Your Sizing
- Minimum text height: Letters should be at least 5 mm tall (about 0.2 inches). Below that, the stitches merge and become illegible.
- Standard left-chest logos: Typically 3.5 to 4 inches wide. This is the most common placement and the sweet spot for detail.
- Caps: Front-panel designs usually run about 2 to 2.5 inches tall by 4 to 5 inches wide, depending on crown height.
- Large back designs: Embroidery can go big, but stitch counts (and cost) climb fast. Anything larger than about 6 inches square is worth a conversation with your embroiderer.
Understand Stitch Counts
Embroidery is typically priced by the stitch count. More complex designs with more filled area require more stitches and more time. A simple one-color text logo might run 3,000 to 5,000 stitches. A detailed full-color crest could exceed 15,000 stitches.
- Ask your embroiderer for the stitch count before approving
- Simplifying a design can meaningfully reduce cost without sacrificing impact
- Most shops include a base number of stitches in their per-piece price (ours includes 5,000, which covers most left-chest logos)
Prepare Your Files Properly
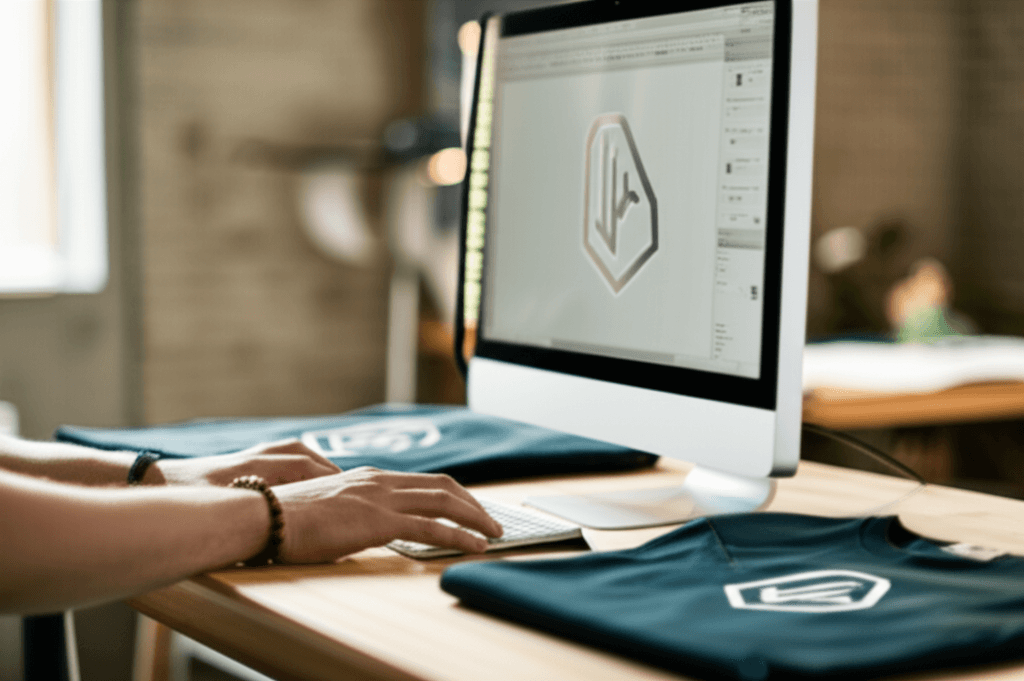
Your embroiderer needs clean source files to create the digitized embroidery file that controls the machine.
- Vector files (AI, EPS, SVG) are ideal. They provide clean edges and are infinitely scalable.
- High-resolution PNG or PDF works if vector is not available. At least 300 DPI at actual embroidery size.
- Avoid JPEGs if possible. Compression artifacts create fuzzy edges that make digitizing harder.
- Specify PMS colors for brand accuracy. Thread manufacturers publish color charts that map to Pantone values.
The Digitizing Process
Before a design can be embroidered, it must be digitized, which means converted into a stitch file that tells the machine where to place every single stitch. Digitizing is a skilled trade. A good digitizer chooses stitch types, angles, densities, and underlay strategies that make the design look sharp on the specific fabric you are using.
This is why you should not grab a random embroidery file from the internet and expect great results. A file digitized for a polo shirt may not perform well on a cap, because the fabric, stabilizer, and hoop setup are different.
What to Expect
- Digitizing typically takes 24 to 48 hours
- You will receive a proof showing stitch placement and colors
- First-time digitizing carries a one-time fee per design (at French Press Custom it is a flat fee; the current figure is in our embroidery cost guide)
- Once digitized, your file is saved and reused on all future orders at no extra charge
Common Embroidery Mistakes to Avoid
- Too much detail: Simplify your design for thread. What looks good on a business card may not work at 4 inches wide in stitches.
- Wrong blank choice: A flimsy tri-blend tee will pucker under a dense embroidery design. Match your blank to the decoration method.
- Ignoring placement: Left chest is classic for a reason. Off-center or awkwardly placed embroidery looks unprofessional.
- Skipping the proof: Always review the digital proof before production. Catching a color or sizing issue before 200 pieces are stitched saves time and money.
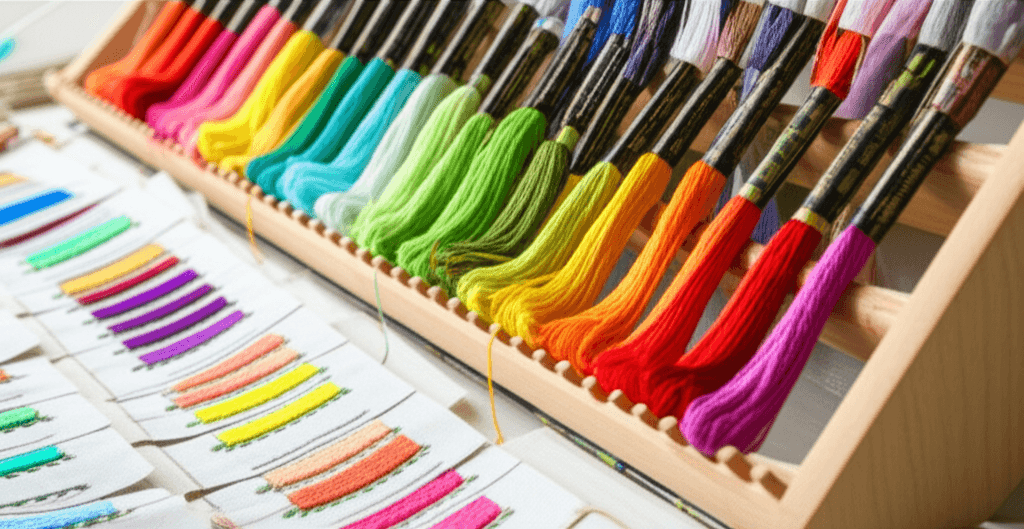
- Too many colors: Each thread color adds a color change (and cost). Many of the most iconic embroidered logos use just one or two colors.
Get Your Embroidery Project Started
Custom embroidery is an investment in your brand that pays off every time someone wears your logo. The durability, professional appearance, and premium feel make it the top choice for corporate apparel, uniforms, hats, and outerwear.
French Press Custom has over 15 years of experience producing high-quality custom embroidery for businesses, schools, teams, and organizations across Southern California. From single-location left-chest logos to full jacket backs, our production team and digitizers ensure every stitch is right.
Ready to get started? Get a free quote, see current pricing in our embroidery cost guide, or call us at (562) 407-3800 to discuss your embroidery project today.
Frequently Asked Questions
What are the three main embroidery stitch types?
Satin stitches are long parallel threads that create a smooth, glossy surface for lettering, thin lines and borders. Fill stitches cover larger areas with rows of shorter stitches for backgrounds and bold shapes. Running stitches are single lines used for fine detail, thin outlines and the underlay beneath the other two.
How small can text be in an embroidered logo?
Letters should be at least 5 mm tall, roughly two tenths of an inch. Below that the stitches merge and the text becomes illegible, and bold sans-serif fonts hold up far better than thin serifs at small sizes.
What is digitizing and do I pay for it on every order?
Digitizing converts your artwork into a stitch file that tells the machine where to place every stitch. It typically takes 24 to 48 hours and carries a one-time fee per design, after which your file is saved and reused on all future orders at no extra charge.
How many stitches does a typical logo use?
A simple one-color text logo might run 3,000 to 5,000 stitches, while a detailed full-color crest can exceed 15,000. Our per-piece price includes 5,000 stitches, which covers most left-chest logos, and simplifying a design can meaningfully reduce cost.